Deploy to Airbase with Figma Make
Figma Make enables teams to generate high-fidelity UI and production-ready frontend assets directly from design prompts.
Airbase complements this by providing a self-serve platform to deploy those assets as a live web application, without the need to manage infrastructure or pipelines.
Using the workflow below, teams can take code generated in Figma Make—such as landing pages, event sites, internal tools, or quick experiments—and deploy a live version on Airbase within minutes.
Combining these tools creates a seamless end-to-end flow: design → generate → deploy. This allows public officers to move quickly from an idea to a functional web experience, making it an ideal approach for hackathons, pilots, and rapid prototyping across government teams.
Prerequisites
Step 1: Prepare your developer machine
If you have a developer laptop (SEED or personal) with internet access, you must install tools to build and deploy container apps to Airbase.
If this is the first time you're installing tools for Airbase, install Homebrew first for macOS users.
This may require you to install Xcode Command Line tools.
1.1 Install Xcode via Terminal
Check if Xcode Command Line tools are installed:
If installed, it returns a directory where the tool is installed, for example:
Otherwise, run this command to install Xcode:
1.2 Install Homebrew (macOS)
Run the following command:
Verify installation with the
brew -vcommand. If it's not found, restart your terminal and run the command again.
Step 2: Install Airbase prerequisite tools
After setting up Homebrew, install the following:
2.1 Install Docker Daemon: Required to build containers locally. * Option A: Docker Desktop (Recommended) * Option B (Mac): Colima for macOS - Run brew install docker - Run brew install colima - Run brew services start colima to start it
2.2 Install Node Package Manager (npm): Required for the CLI.
-
Run
brew install node, then Verify withnode -v -
Or install from the official Node site using the .pkg installer
2.3 Install the Airbase CLI: Required to interact with the platform, for builds and deployments.
-
Run
sudo npm install --global @airbase/airbase-cli@containers -
Verify with
airbase --version. If installed successfully, the version will be displayed.
2.4 Initial login
- Go to Airbase Console and sign in with your TechPass or email address.
- In your terminal, run:
airbase loginto connect your computer to your Airbase account. - Complete the authentication in your browser. Once successful, you will see:
✅ Successfully logged in.
Step 3: Sign up for Figma Make
Go to the Figma website and create an account.
Note: The free tier is restricted in terms of limits. If you expect to be working on several prototypes, request a Figma Collab account from the CIO Office.
⭐ Recommended: New to Airbase? Complete the Airbase 1-2-3 tutorial to learn the platform basics first before deploying your Figma Make project.
Part 1: Envisioning your idea with Figma Make
-
In Figma, navigate to the Figma Make tool.

-
Describe your app. Figma Make will generate the required frontend assets and show a live preview.

-
Iterate continuously and feed in more prompts until the preview matches your idea as closely as possible.
-
After you are done iterating, switch to the Code tab, click the download icon, and save the
.zipfile.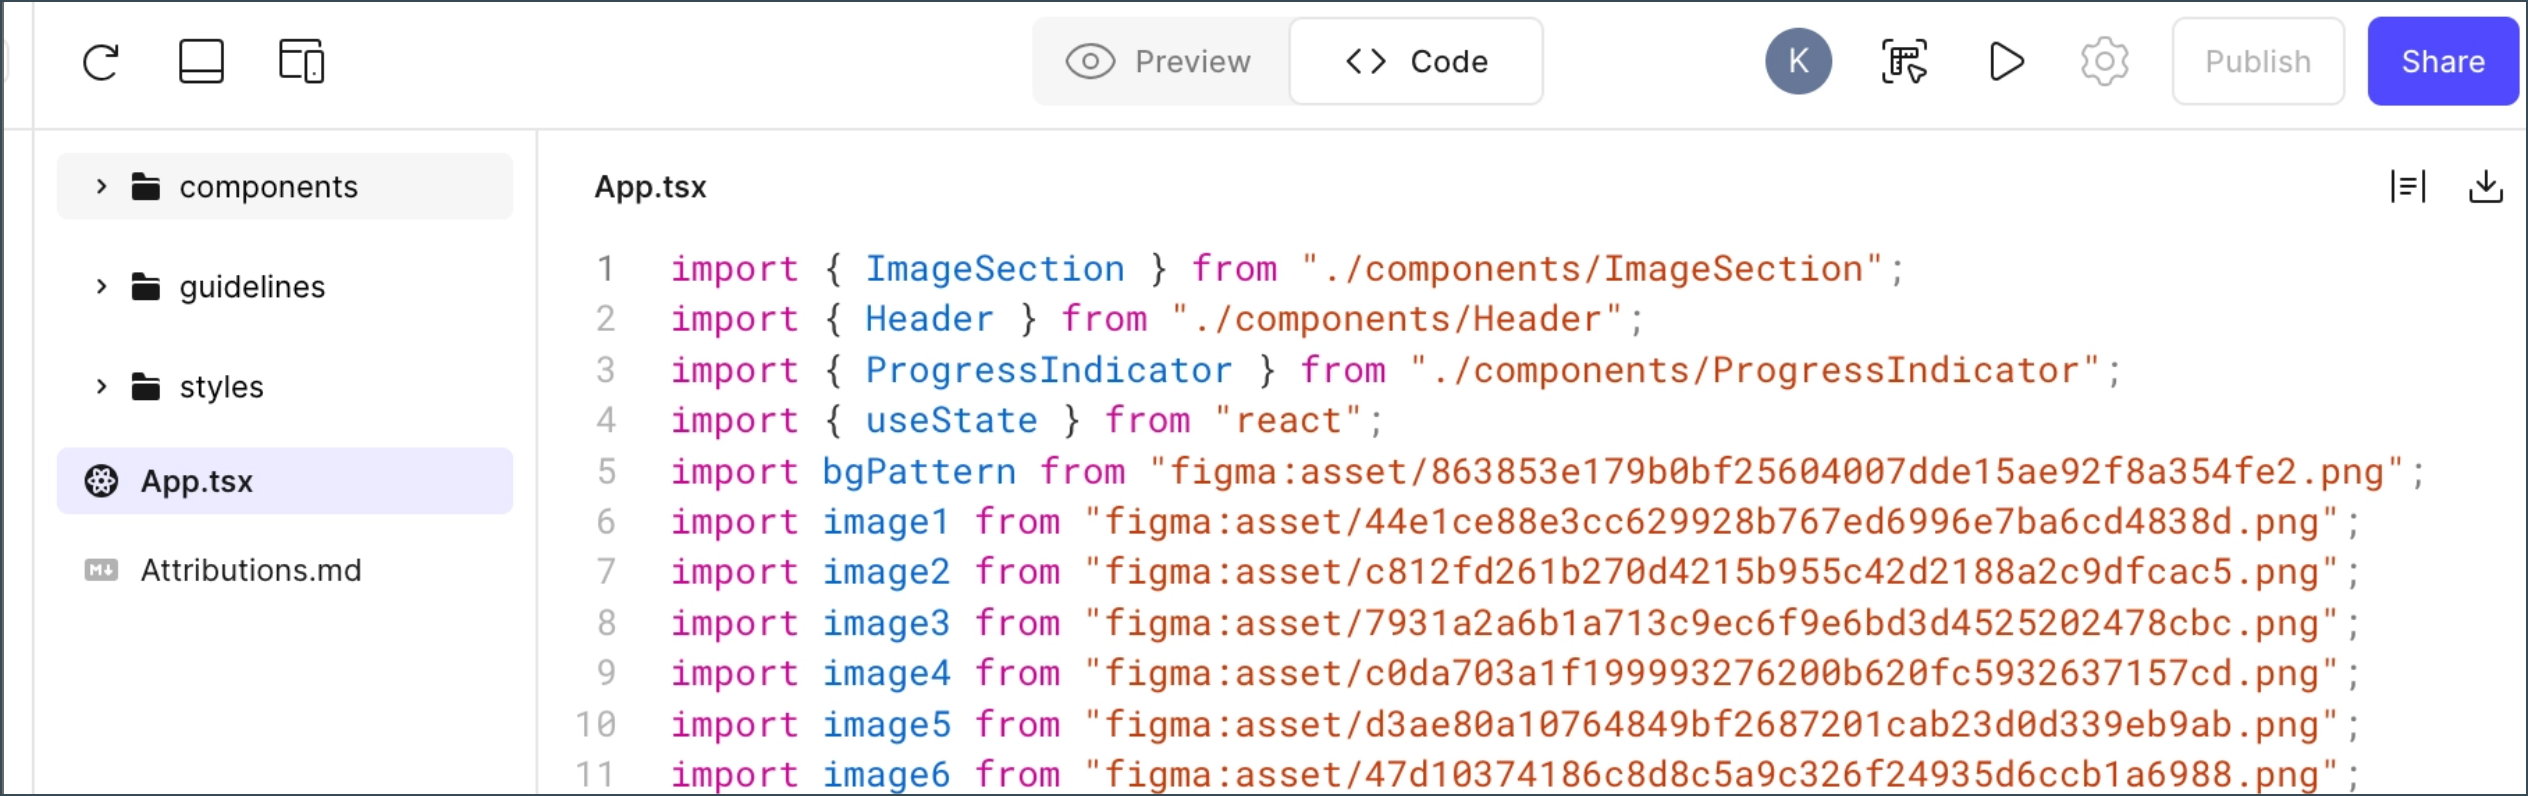
-
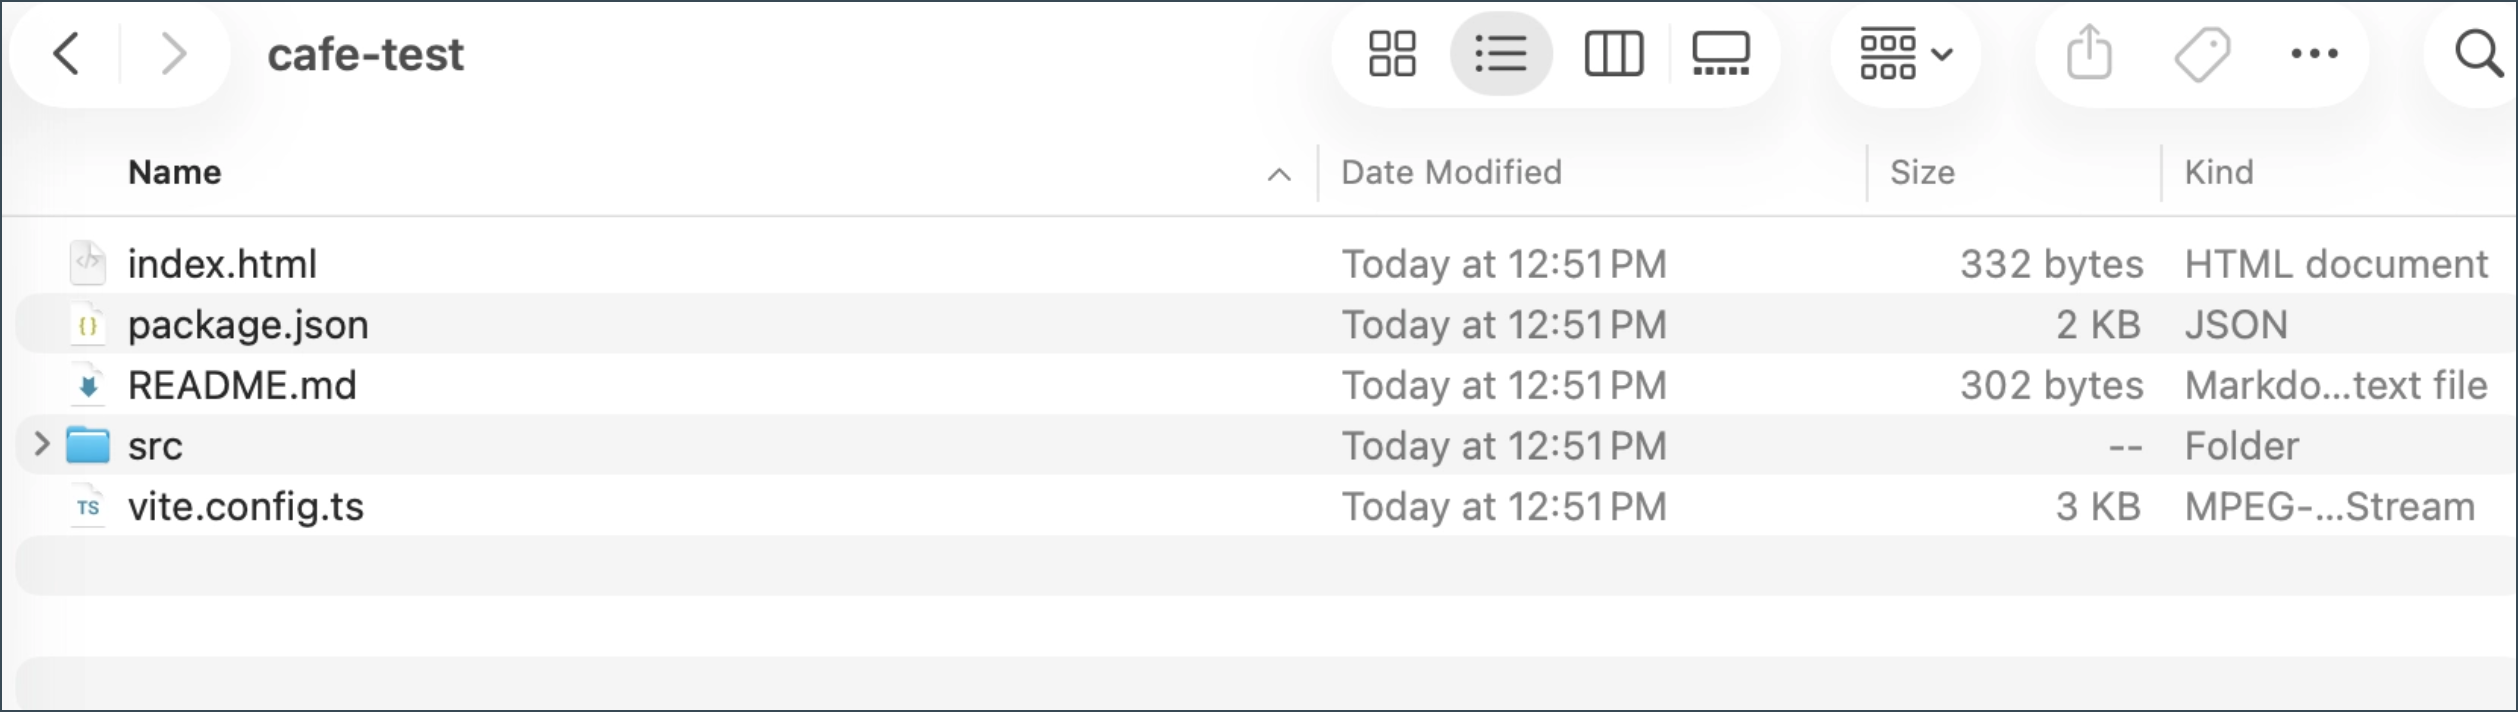
Unzip the folder. Rename it using lowercase only and no spaces (e.g.,
cafe-test,cafemock).- Ensure the above file-naming convention to avoid errors when deploying the project
-
You should have a project folder looking like this:
-
Move the additional assets into the project folder to make it deployment-ready.
- Download the figma-base.zip configuration files.
-
Unzip and copy all files from
figma-baseand paste them into your project folder.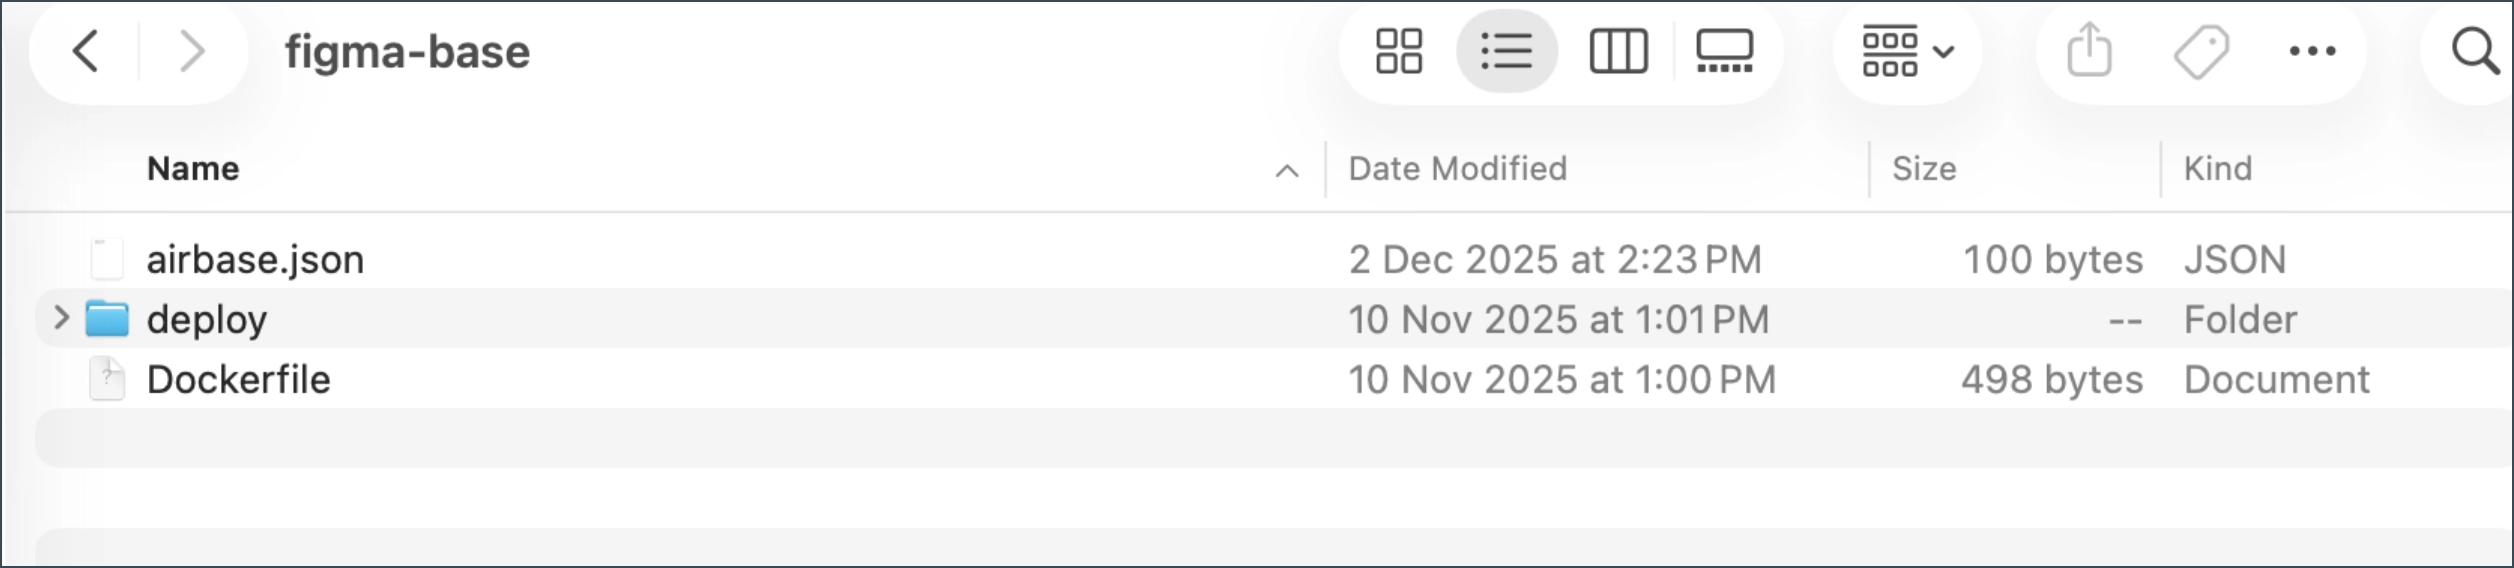
-
Your folder should now contain the following assets:
airbase.json,Dockerfile,package.json,src,deploy,index.html, andvite.config.ts.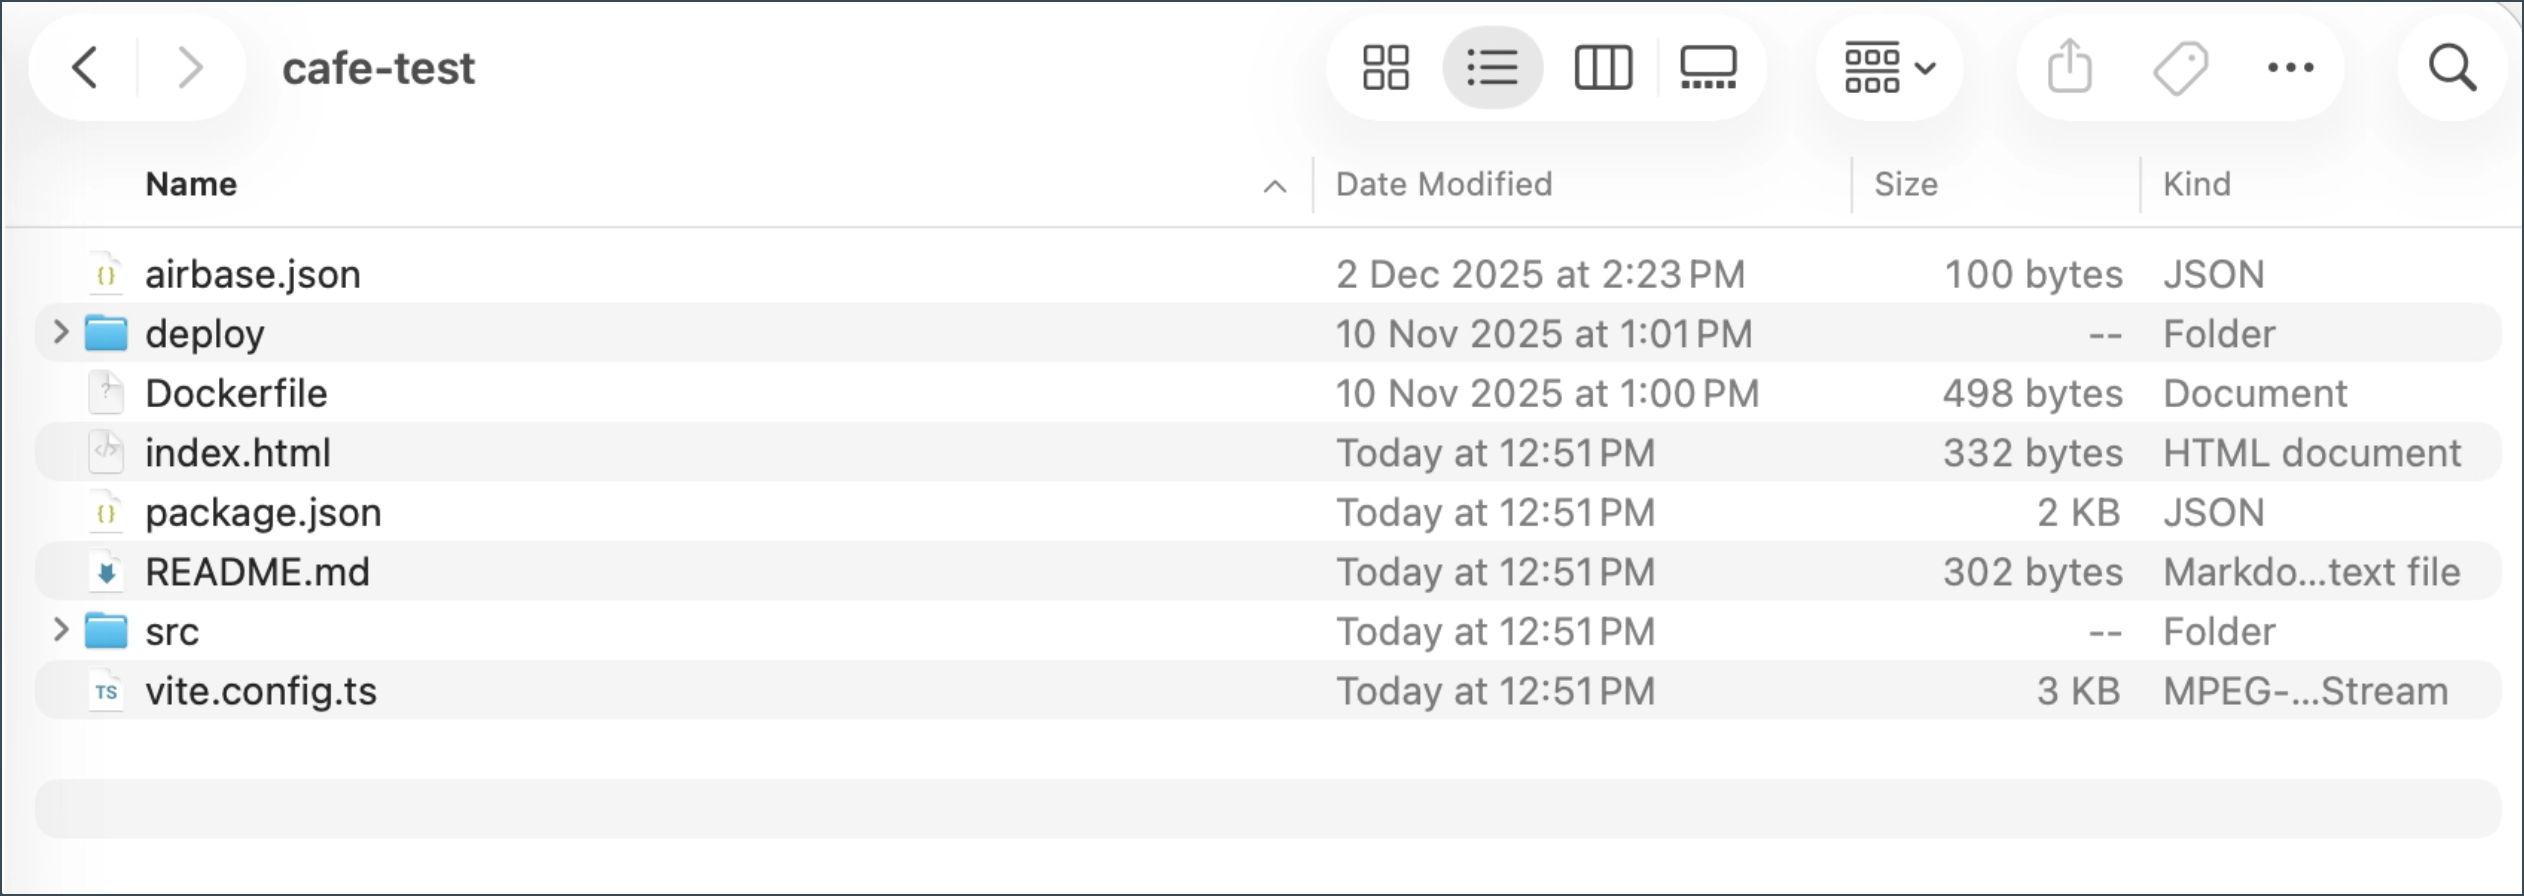
Part 2: Deploying your Figma Make prototype to Airbase
Step 1: Create a Project under a Team in Console
- Go to the Airbase Dashboard.
- Select a Team.
-
Click Create Project.

Step 2: Navigate to your Project Folder
Open your terminal and enter your project directory.
For example, if your project is located in the Downloads folder, do the following:
(base) ➜  ~ cd Downloads
(base) ➜  Downloads cd cafe-test
(base) ➜  cafe-test ls
airbase.json   Dockerfile     package.json   src
deploy         index.html     README.md      vite.config.ts
(base) ➜  cafe-test
Step 3: Ensure you are logged in to your Airbase account
Run airbase login via CLI.
You should be redirected to a browser site to log in to Airbase.
Step 4: Configure the airbase.json file to point to the correct project in your Airbase account
Run airbase configure via CLI.
Select the necessary options based on your requirements (e.g., if you want to restrict access to SEED devices).
(base) ➜  cafe-test airbase configure
Error reading project from handle: runtime/demo (Error: project not found).
Will overwrite existing project handle.
✔ Select Airbase project to link cafemock (karthik/cafe-mock)
✔ Port Number: 3000
✔ Do you want to restrict access to the application based on IP addresses? No

 {
   framework: "container"
-  handle: "runtime/demo"
+  handle: "karthik/cafe-mock"
   port: 3000
   instanceType: "nano"
 }

✔ Save configuration? Yes

Configuration saved in airbase.json
Run airbase container build to create a deployment package.
(base) ➜  cafe-test
Step 5: Ensure Docker Daemon is running
For example, if you had installed Colima, run colima start.
Step 6: Build the container image for Airbase
Run airbase container build.
(base) ➜  cafe-test airbase container build
Using docker context colima
#0 building with "colima" instance using docker driver

#1 [internal] load build definition from Dockerfile

#1 transferring dockerfile: 537B done
#1 DONE 0.0s

#2 [internal] load metadata for docker.io/gdssingapore/airbase:node-24-builder

#2 ...

#3 [internal] load metadata for docker.io/gdssingapore/airbase:nginx-1.28
#3 DONE 2.7s


#2 [internal] load metadata for docker.io/gdssingapore/airbase:node-24-builder
#2 DONE 2.7s

#4 [internal] load .dockerignore

#4 transferring context: 2B done
#4 DONE 0.0s

#5 [builder 1/5] FROM docker.io/gdssingapore/airbase:node-24-builder@sha256:adcfc5a5b8ebb88d968e111fbd9a056e80da32f5c82fa9945da25327af9198a9
#5 DONE 0.0s

#6 [stage-1 1/3] FROM docker.io/gdssingapore/airbase:nginx-1.28@sha256:e4ee5511cfe1ef8e52926a5e5ea8381739672d13eb5b8c7bac2e36de5c91cb6a
#6 DONE 0.0s

#7 [internal] load build context
#7 transferring context: 213.85kB 0.0s done
#7 DONE 0.0s

#8 [builder 2/5] COPY package.json .
#8 CACHED

#9 [builder 3/5] RUN npm install
#9 CACHED

#10 [builder 4/5] COPY . ./
#10 DONE 0.1s


#11 [builder 5/5] RUN npm run build

#11 1.532
#11 1.532 > Cafe Landing Site@0.1.0 build
#11 1.532 > vite build
#11 1.532

#11 2.107 vite v6.3.5 building for production...

#11 2.213 transforming...

#11 4.971 ✓ 1612 modules transformed.

#11 5.196 rendering chunks...

#11 5.206 computing gzip size...
#11 5.225 build/index.html                   0.43 kB │ gzip:  0.28 kB
#11 5.225 build/assets/index-juaZQLO8.css   23.62 kB │ gzip:  5.06 kB

#11 5.225 build/assets/index-B-JbX0cG.js   191.29 kB │ gzip: 60.86 kB
#11 5.225 ✓ built in 3.07s
#11 5.262 npm notice
#11 5.262 npm notice New minor version of npm available! 11.6.1 -> 11.7.0
#11 5.262 npm notice Changelog: https://github.com/npm/cli/releases/tag/v11.7.0
#11 5.262 npm notice To update run: npm install -g npm@11.7.0
#11 5.262 npm notice
#11 DONE 5.3s


#12 [stage-1 2/3] COPY --from=builder --chown=app:app /app/build/ .
#12 CACHED

#13 [stage-1 3/3] COPY deploy/nginx.conf /etc/nginx/conf.d/default.conf

#13 CACHED


#14 exporting to image
#14 exporting layers done
#14 writing image sha256:94d4f3566c050df87adab4a3ebec9950634f3996a459e68d9741ad00530ed033 done
#14 naming to local.airbase.sg/cafe-test:97034711429f82964debecc282d0f6c3 done
#14 DONE 0.0s

Successfully built image local.airbase.sg/cafe-test:97034711429f82964debecc282d0f6c3
Run airbase container deploy to launch your application! 🛫
(base) ➜  cafe-test
Step 7: Deploy the build
(base) ➜  cafe-test airbase container deploy
Using docker context colima
Project: cafemock (karthik/cafe-mock)
Environment: default (production)
Image: local.airbase.sg/cafe-test:97034711429f82964debecc282d0f6c3
Port ($PORT): 3000
Instance Type: nano

✔ Continue with deployment to default (production) Yes
Deployed cafemock in default (karthik/cafe-mock:default)
Visit https://cafe-mock.app.tc1.airbase.sg
(base) ➜  cafe-test
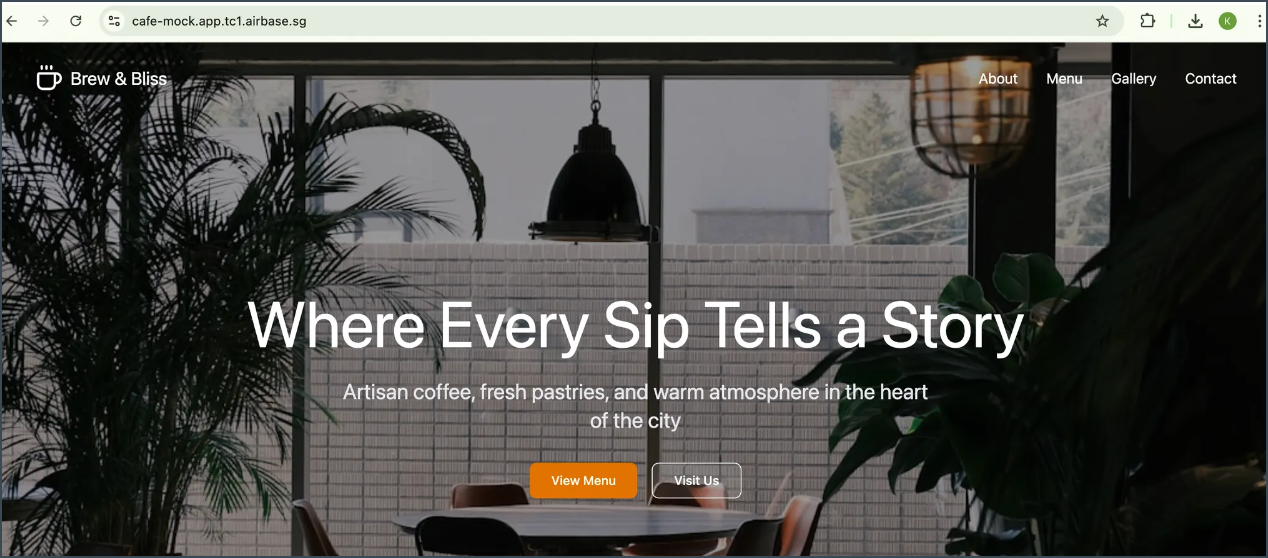
Step 8: View your deployed project
🎉 Congrats, you made it! The project you made using Figma Make should now be successfully deployed on an Airbase URL.
Check out your deployed project via the provided URL.